Framing a custom home is one of the most visually dramatic phases of any build. In a matter of weeks, a bare foundation transforms into a recognisable structure — walls, floors, and roof taking shape in a way that makes the project suddenly feel real. For anyone building a custom home in the GTA for the first time, understanding what happens during this phase helps you ask better questions, spot potential issues early, and appreciate the craft involved.
Here's a clear walkthrough of what custom home framing involves from foundation to roof.
Before Framing Begins
Framing doesn't start at the foundation — it starts at the plans. Engineered structural drawings specify beam sizes, header requirements, load paths, and connection details that the framing crew builds to. Any discrepancy between the drawings and site conditions gets resolved before framing begins, not during. A good framing crew reviews the plans thoroughly before the first stud goes up.
The concrete foundation must also be fully cured, inspected, and approved before framing can proceed. Anchor bolts set in the foundation need to be verified against the framing plan — their position determines where sill plates land, and errors here create cascading alignment problems throughout the build.
The Framing Sequence
Sill Plates and Floor System
Pressure-treated sill plates are anchored to the foundation. The main floor system — rim joists, floor joists or engineered I-joists, and any main carrying beams — is framed and sheathed. This is the platform the rest of the structure is built from, so levelness and squareness here are critical. Any error compounds through every subsequent floor.
Main Floor Wall Framing
Exterior and interior walls are framed flat on the subfloor, then lifted into position and braced. Window and door openings are framed with headers sized to carry the load above. On custom homes with large window packages or open-plan layouts, engineered LVL or steel beam headers are common. The walls are plumbed, aligned, and temporarily braced before the next floor system goes on.
Upper Floor System
The second-floor platform is built — floor joists spanning between the main floor walls, sheathed, and verified for level and squareness before wall framing begins. On homes with open-to-below areas, flush beam framing creates the open ceiling condition while maintaining structural continuity. This is one of the most technically demanding aspects of custom home framing.
Upper Floor Wall Framing
Second-floor walls, gable ends, and any third-floor or attic knee walls are framed. On two-storey custom homes in the GTA, this phase often includes cathedral ceiling framing, vaulted sections, and complex roofline transitions that require careful layout before any framing begins. Mistakes made here show up in the finished ceiling — and are expensive to correct after drywall.
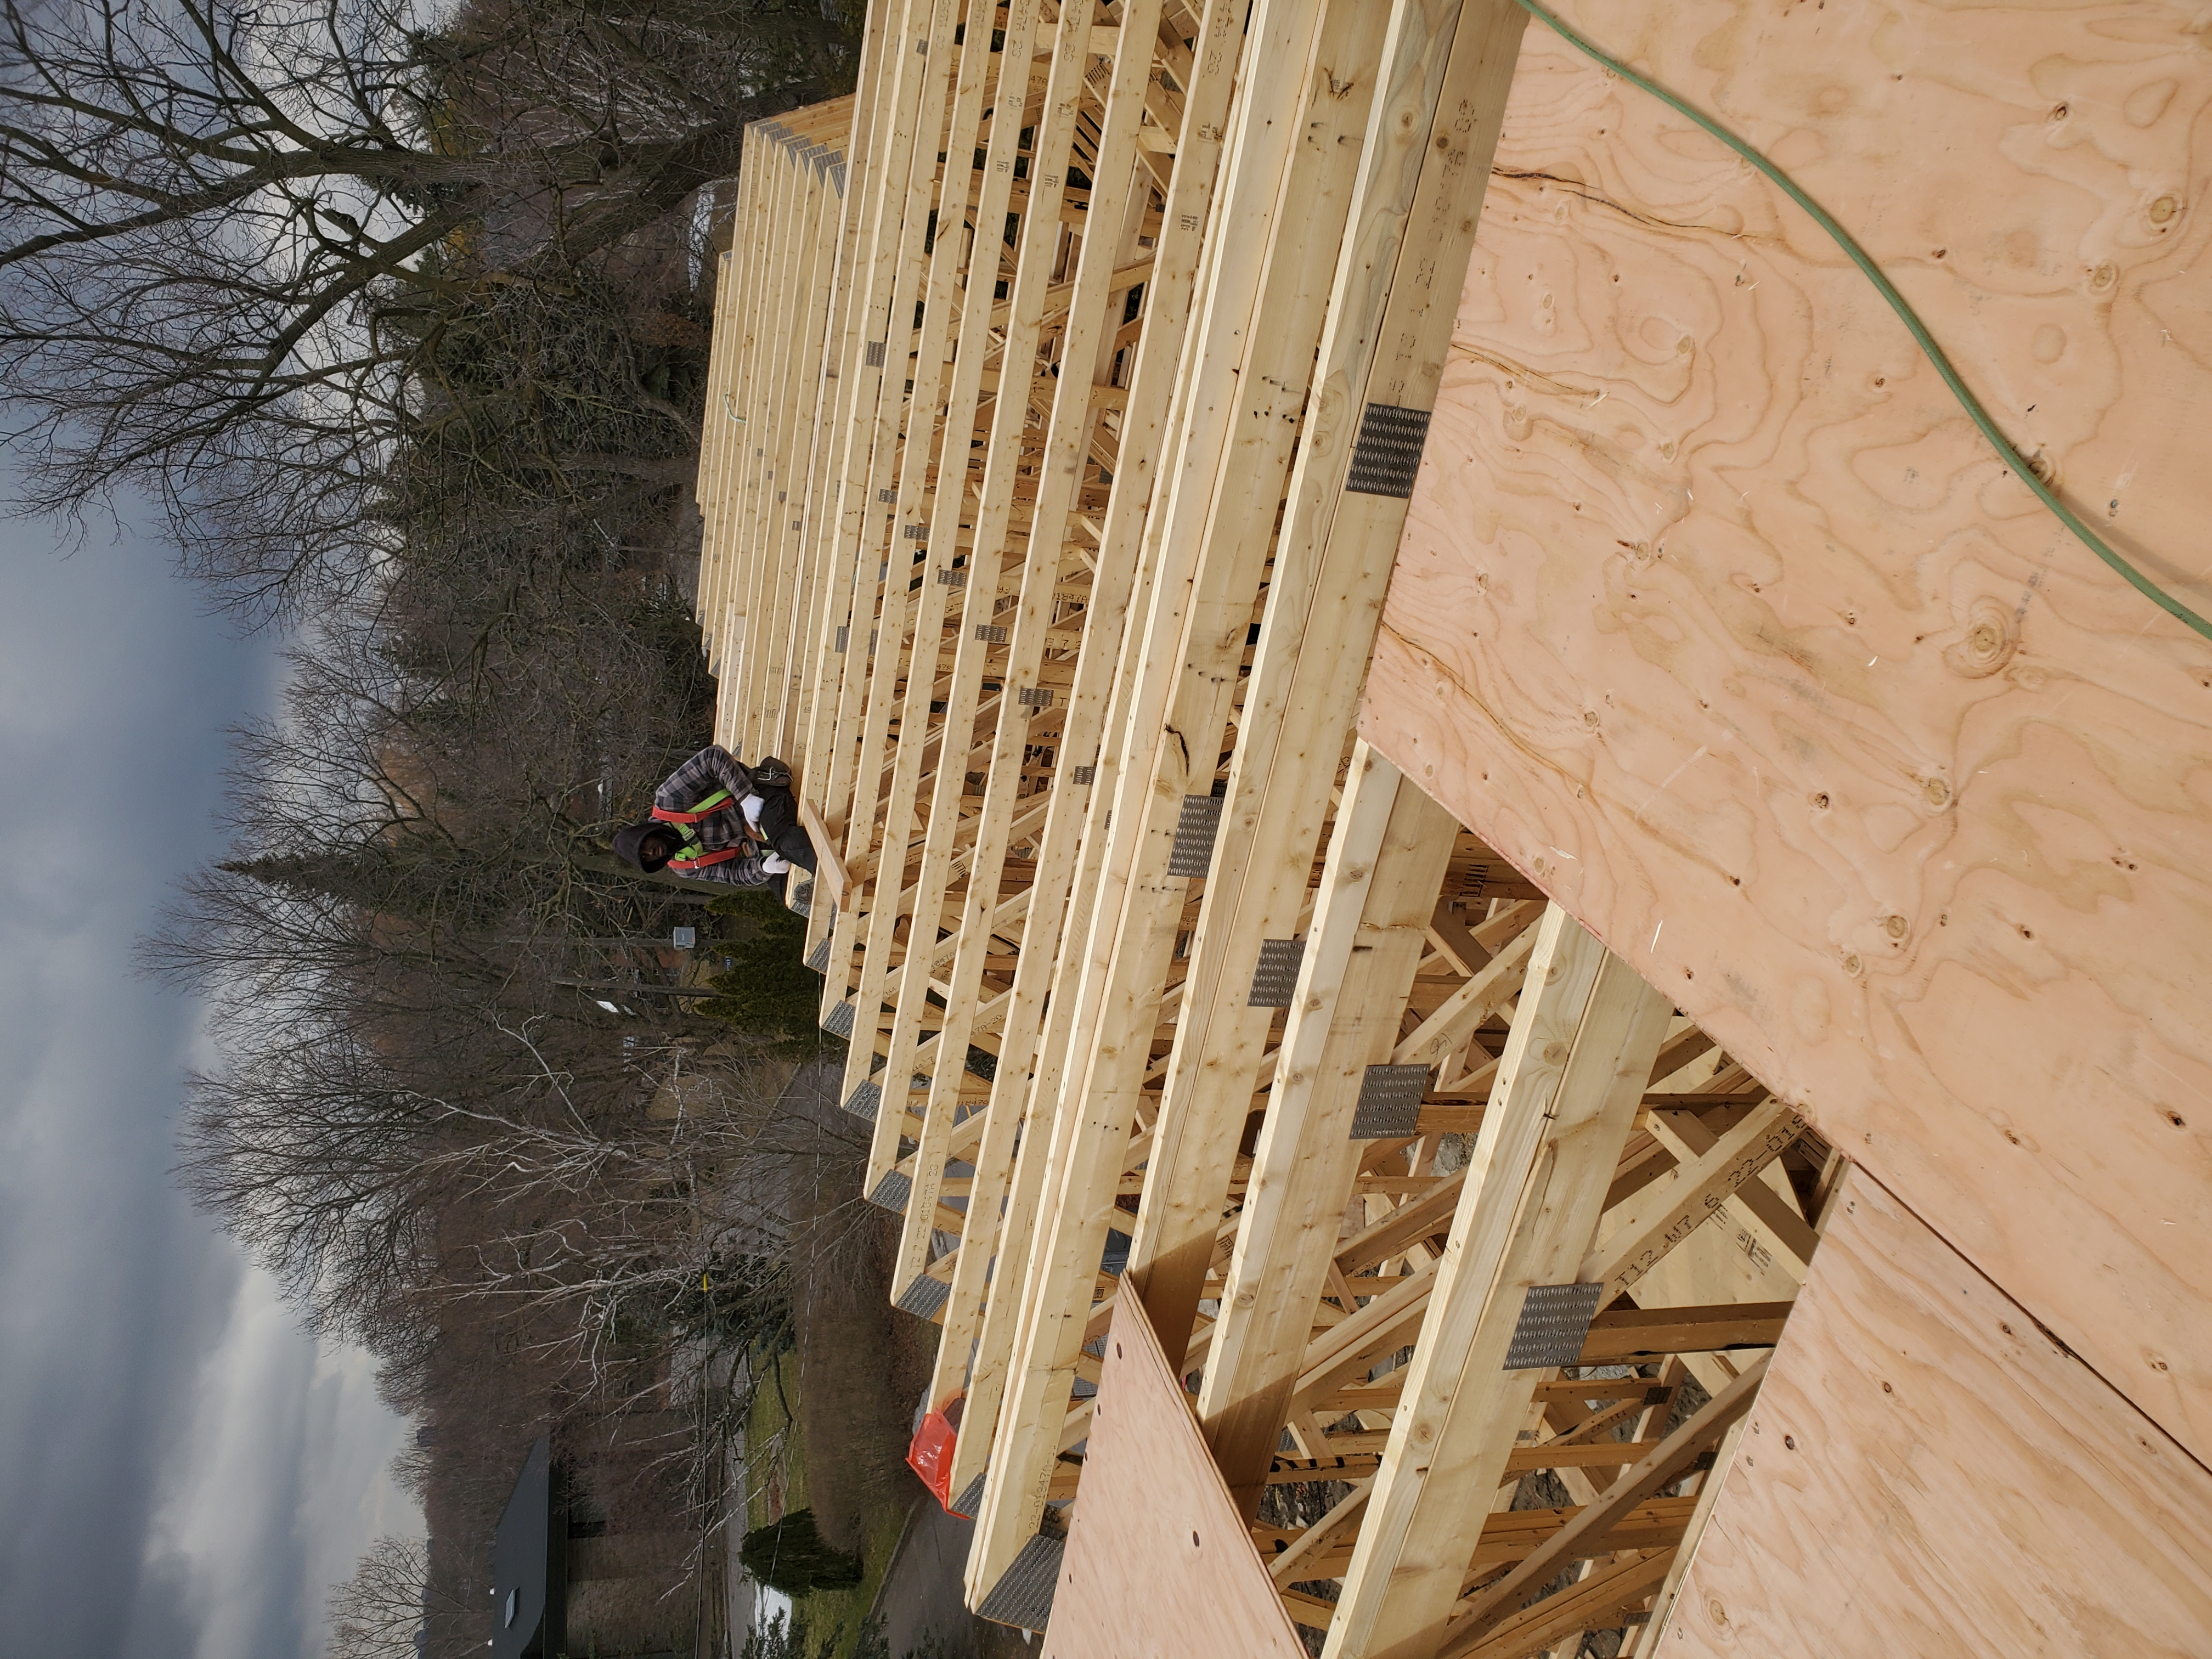
Roof Framing
Roof framing is the most complex and most visible part of custom home framing. Hip roofs, valleys, dormers, and complex rooflines require precise layout and cutting — each rafter must be cut to exact length and angle to produce a roof that looks right and drains properly. Pre-engineered trusses are used on simpler rooflines; stick-framed roofs are built on site for more complex designs. The ridge beam, hip rafters, and valley framing are the structural backbone of the roof system.
Sheathing and Weatherproofing
Structural sheathing is applied to exterior walls and the roof deck, completing the structural envelope. House wrap or building membrane is applied over the wall sheathing to create a weather-resistant barrier before windows and doors are installed. The building is now "dried in" — protected from the weather and ready for the trades to begin their rough-in work.
How Long Does Custom Home Framing Take in the GTA?
Timeline varies with size and complexity, but as a general guide for GTA custom homes:
- Smaller custom homes (under 2,500 sq ft) — framing typically takes 3–5 weeks
- Mid-size custom homes (2,500–4,000 sq ft) — 5–8 weeks is typical
- Larger or highly complex homes — 8–12 weeks or more, depending on roofline complexity and custom detailing
Weather is a real factor in GTA framing timelines. Wet springs and extreme summer heat both slow outdoor framing work. Experienced crews build weather contingency into their schedules rather than committing to day-precise timelines that Ontario's climate can't guarantee.
What to Look for During Framing
If you're visiting your build during the framing phase, here's what good framing looks like:
- Walls are plumb — a level held against any wall should show vertical
- Corners are square — the diagonal measurement from corner to corner should match in both directions
- Headers are properly sized — every window and door opening should have a header; its size should match the structural drawings
- Blocking is installed — backing for future railings, grab bars, and heavy cabinet installations should be in place before sheathing goes on
- Temporary bracing is adequate — walls should be properly braced before the crew leaves site for the day
Framing inspection: In Ontario, permitted custom home builds require a framing inspection before any insulation or drywall is installed. The building inspector verifies that structural elements, fire blocking, egress requirements, and header sizing match the approved drawings. This inspection is your independent verification that the framing meets code — take it seriously.
Custom Home Framing
Across the GTA
Our framing team brings engineering knowledge and precision craftsmanship to every custom build. Serving Toronto, Vaughan, Mississauga, Brampton, Richmond Hill and the GTA.
Request a Free Quote ↗ Call (416) 709-0909